Have you ever heard of derma rolling?! You probably have, otherwise, you wouldn’t be reading this blog post. The first time I heard about the at-home ‘surgical’ procedure was about two years ago. I was sceptical but very determined to improve the overall look of my skin, especially my nasolabial folds. The little smile lines were driving me crazy and I was determined to try whatever solution I could find on the world wide web to help me get rid of them. One search led to another and before I knew it I was already clicking the buy button on Amazon for my chosen derma roller. Before I give you the details on my derma rolling experience for the past two years, let’s have a look at what derma rolling is, how to use it and what precautions you should take.
What Is Derma Rolling?
Derma rolling has been gaining massive popularity within the beauty and skincare community. It is said to be even better than chemical peels and microdermabrasion. The last two can only exfoliate the top layer of your skin (epidermis) while refreshing your skin complexion with mild collagen growth. What’s worse, chemical peels can really damage the epidermis by making your skin red and irritated. Compared to derma rolling, microdermabrasion and chemical peels require a very long recovery time and it can take several days for your skin to heal.
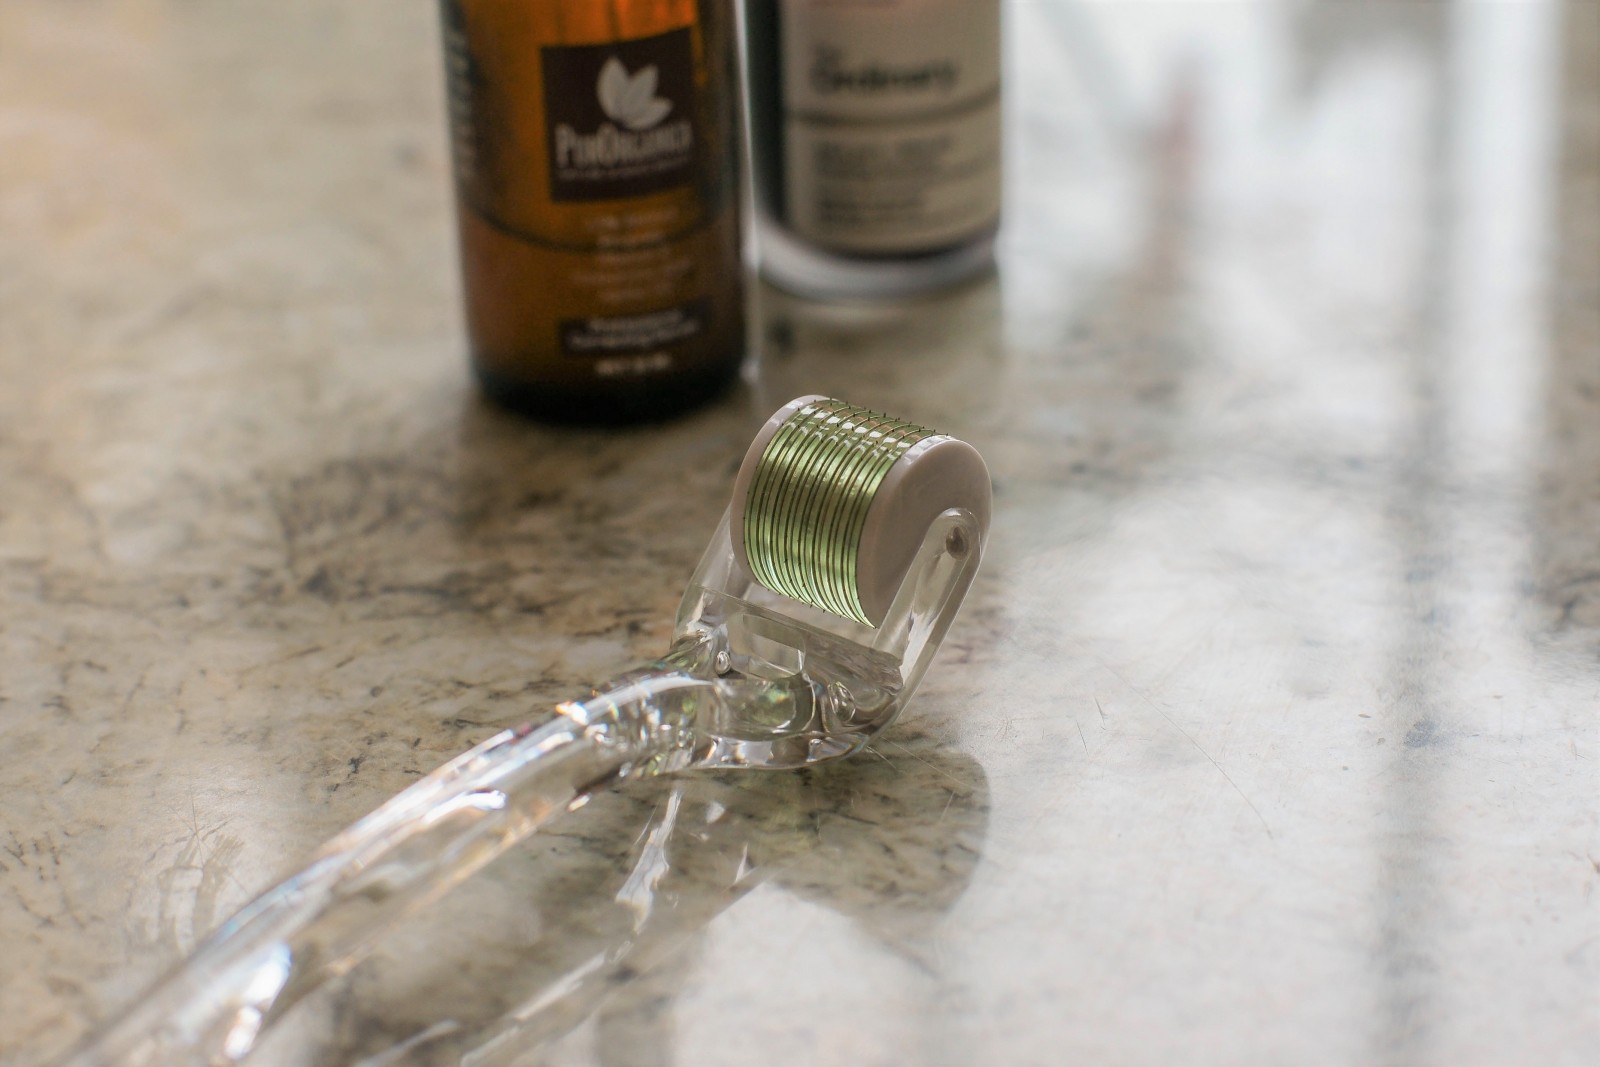
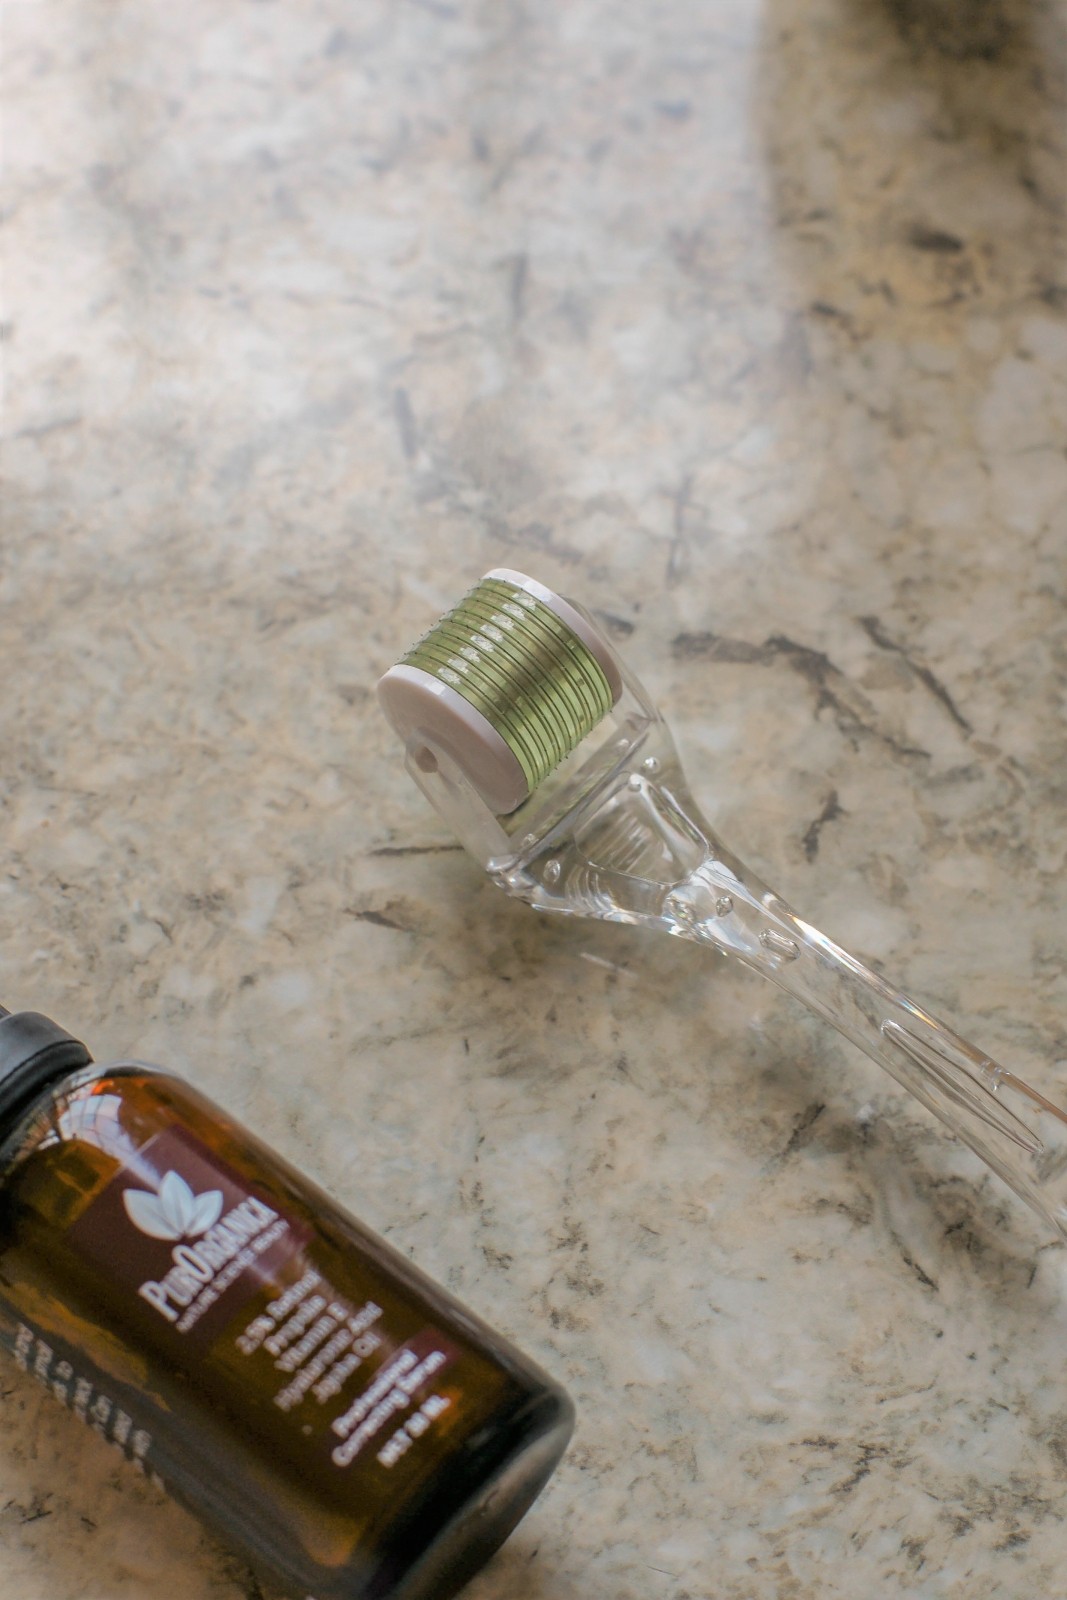
Derma rolling, on the other hand, is just skin needling or micro-needling. The concept of derma rolling is quite simple. It works by creating tiny punctures into the skin to stimulate skin repair and cell regeneration. The device used for this process is called a – you probably guessed it – derma roller. The tiny cylindrical drum is studded with micro-needles which are rolled into the skin. When in use, these needles create micro injuries on the skin. In order to heal faster, the skin sends signals to your body to produce more collagen and elastin.
What Are The Benefits Of Derma Rolling?
- Collagen production. As mentioned above, the main benefit of derma rolling is the collagen production. Collagen improves skin’s elasticity and suppleness. Unfortunately, as we age, our skin becomes loose and saggy due to collagen depletion. Micro-needling counteracts this process by stimulating the production of new collagen and elastin in a natural way.
- Reducing deep wrinkles and fine lines. The newly produced collagen acts as a natural filler for facial lines and wrinkles. As a result, fine lines and wrinkles are visibly and permanently reduced! I can comfortably confirm this as my nasolabial folds have finally diminished!
- Reduced acne scars and stretch marks. Personally, I have used the derma roller neither on acne scars nor on stretch marks, but average users have reported seeing improvements after 4 to 6 treatments.
Other benefits include improved skin texture, faster product absorption, smoother skin tone and reduction of crow’s feet.
Choose The Right Derma Roller
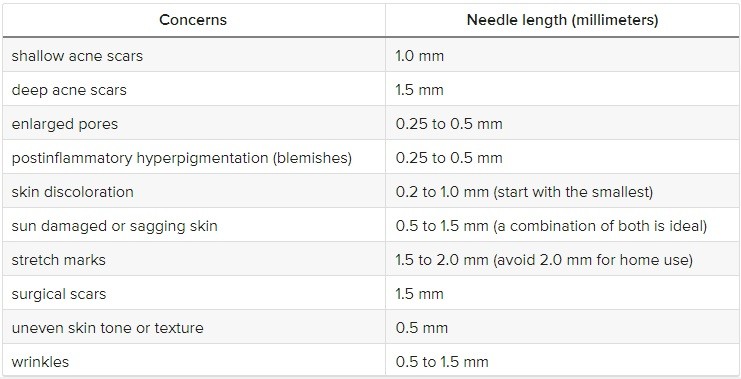
It is important to choose the right derma roller for your specific skin concerns. The length of the micro-needles varies depending on what you’re trying to treat. To make your life easier, Healthline has provided their readers with a helpful table summarising what needle length should be used for each skin concern.
Once you’ve determined what you want to treat, start looking for the perfect derma roller. Gladly, you won’t have to spend hours searching for one as there are plenty of great options on Amazon!
Top 5 Derma Rollers in the UK
Aufgeld AG540 Titanium Microneedle Derma Roller
TinkSky Derma Roller Micro Needle Roller
Skin Radiance Derma Roller (my derma roller!)
Top 5 Derma Rollers in the US
Micro 540 Needles Derma Roller
Derma Rolling: Preparation
Disinfect the derma roller. Needles are going to penetrate your skin, so you must clean the derma roller prior to using it. Soak the roller in 70% isopropyl alcohol, leave it for 10 min, after which shake off the excess alcohol and let it air dry.
Clean your skin. Prior to starting the derma rolling procedure, you need to make sure your skin is clean. Wash your face with lukewarm water and a cleanser. At this point you don’t want to use anything harsh like a salicylic acid, thus opt for something gentler.
Use a numbing cream. Most people, including me, don’t find the process of derma rolling painful, however, if you’re sensitive, you might want to use a numbing cream like Germolene or Numb 520. Just rub the cream into the area and leave it for 20 min before you start rolling. Make sure wipe off any excess cream prior to the micro-needling!
Apply a serum. For more experienced derma rolling users, I recommend using a serum with retinol or hyaluronic acid prior to micro-needling your skin. The process will help absorb the serum faster with greater results in the end.
Top 5 Serums in the UK
PREMIUM Vitamin C Serum For Face with Hyaluronic Acid Serum
Derma Roller Face Serum by Skin Radiance
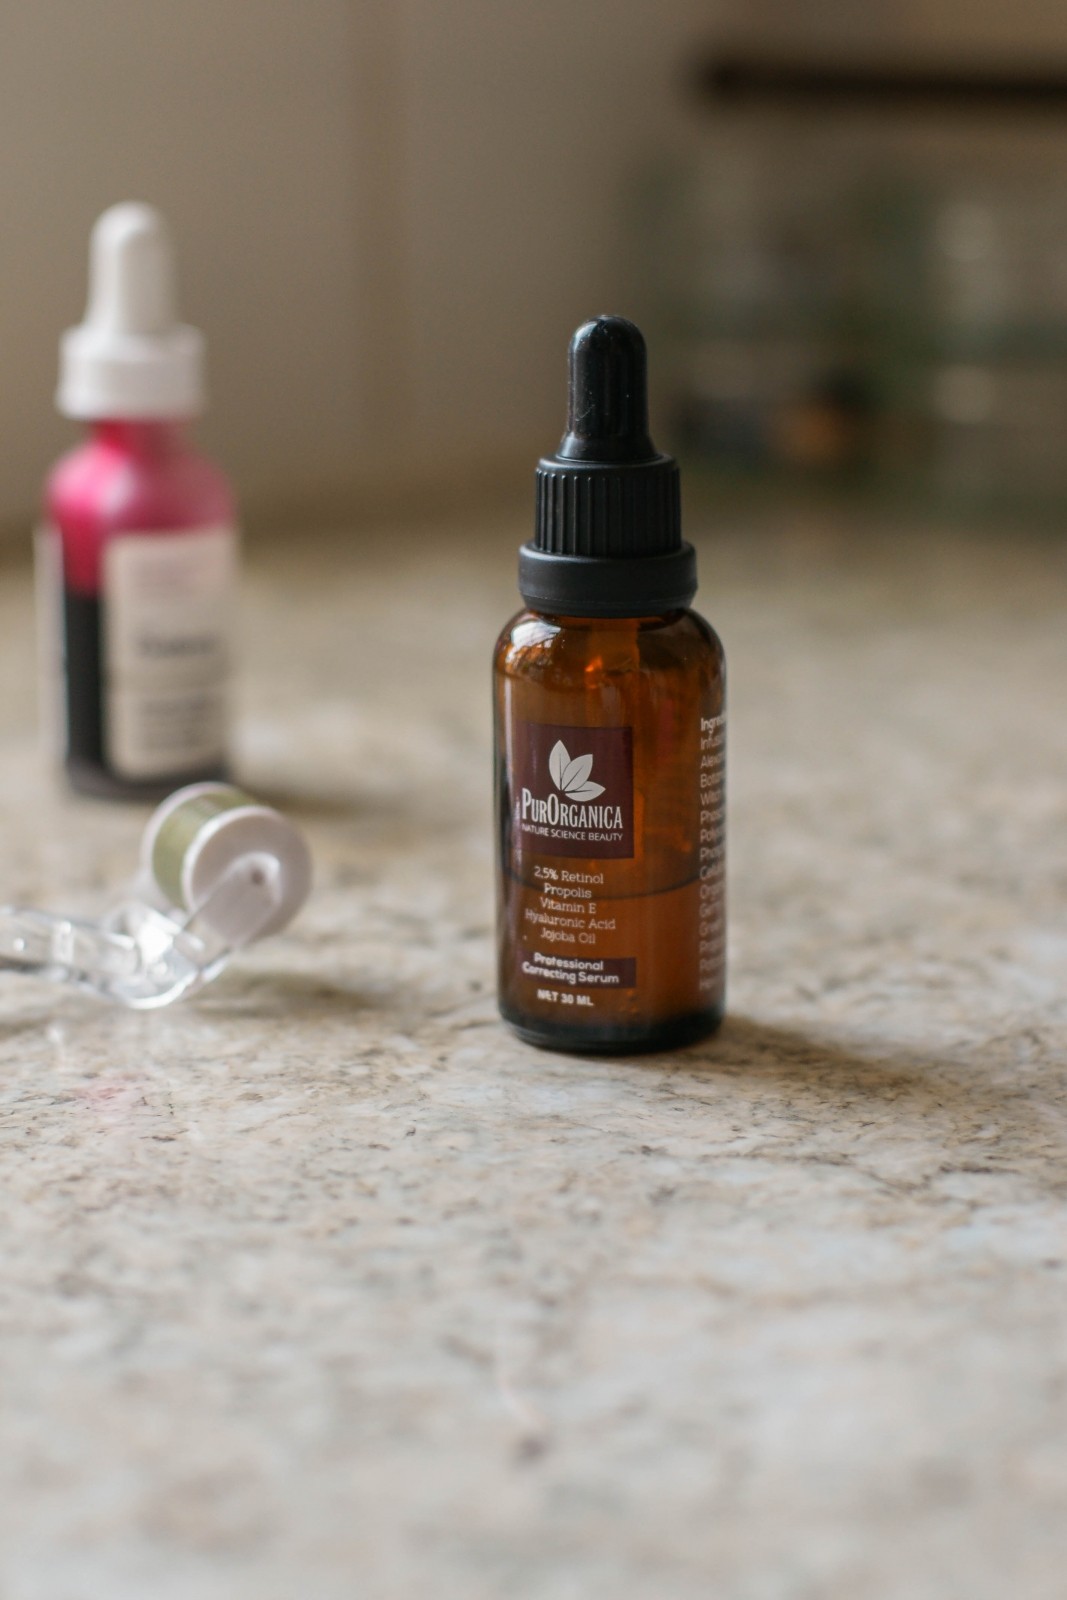
PurOrganica Hyaluronic Acid Face Serum
PREMIUM Retinol Face Serum with Hyaluronic Acid & Vitamin E
PurOrganica Retinol Serum (my serum!)
Top 5 Serums in the US
Peptide Complex Serum by Eva Naturals
Anti-ageing Skin Care Set by Eve Hansen
Copper Peptide Serum With Swiss Apple Stem Cell
Peptide Complex Serum/Collagen Booster
Amara Organics Hyaluronic Acid Serum
How To Use A Derma Roller
Once you’ve prepared your skin and washed your hands, you’re ready to start using the derma roller! There are two methods to use a derma roller. Personally, I prefer method two as I don’t have a lot of time on my hands during the week and I would recommend this method to anyone with a busy lifestyle.
Method one. Apply a slight pressure while you’re rolling the device back and forth four times in four different directions. You should not feel pain or see any blood. You will become accustomed to how much pressure you can apply without causing any discomfort.
Although you can use method one as part of your daily routine, you need to make sure you allow your skin to heal for at least a couple of days per week.
Method two. This is the professional approach and my preferred method of using the derma roller. Method two involves greater preparation but requires less frequent use of the device. Basically, follow method one while you’re applying far greater pressure. Spend at least two minutes on each treatment area.
After finishing with the micro-needling, wait for 20 minutes and apply a moisturiser. Your face might become red and irritated but you shouldn’t see blood. Any redness and irritation should disappear within 24 hours. I use method two in the evenings once a week and apply SPF20 in the morning after. You should see lasting result after 4 to 6 treatments. Personally, I saw immediate results after the first treatment!
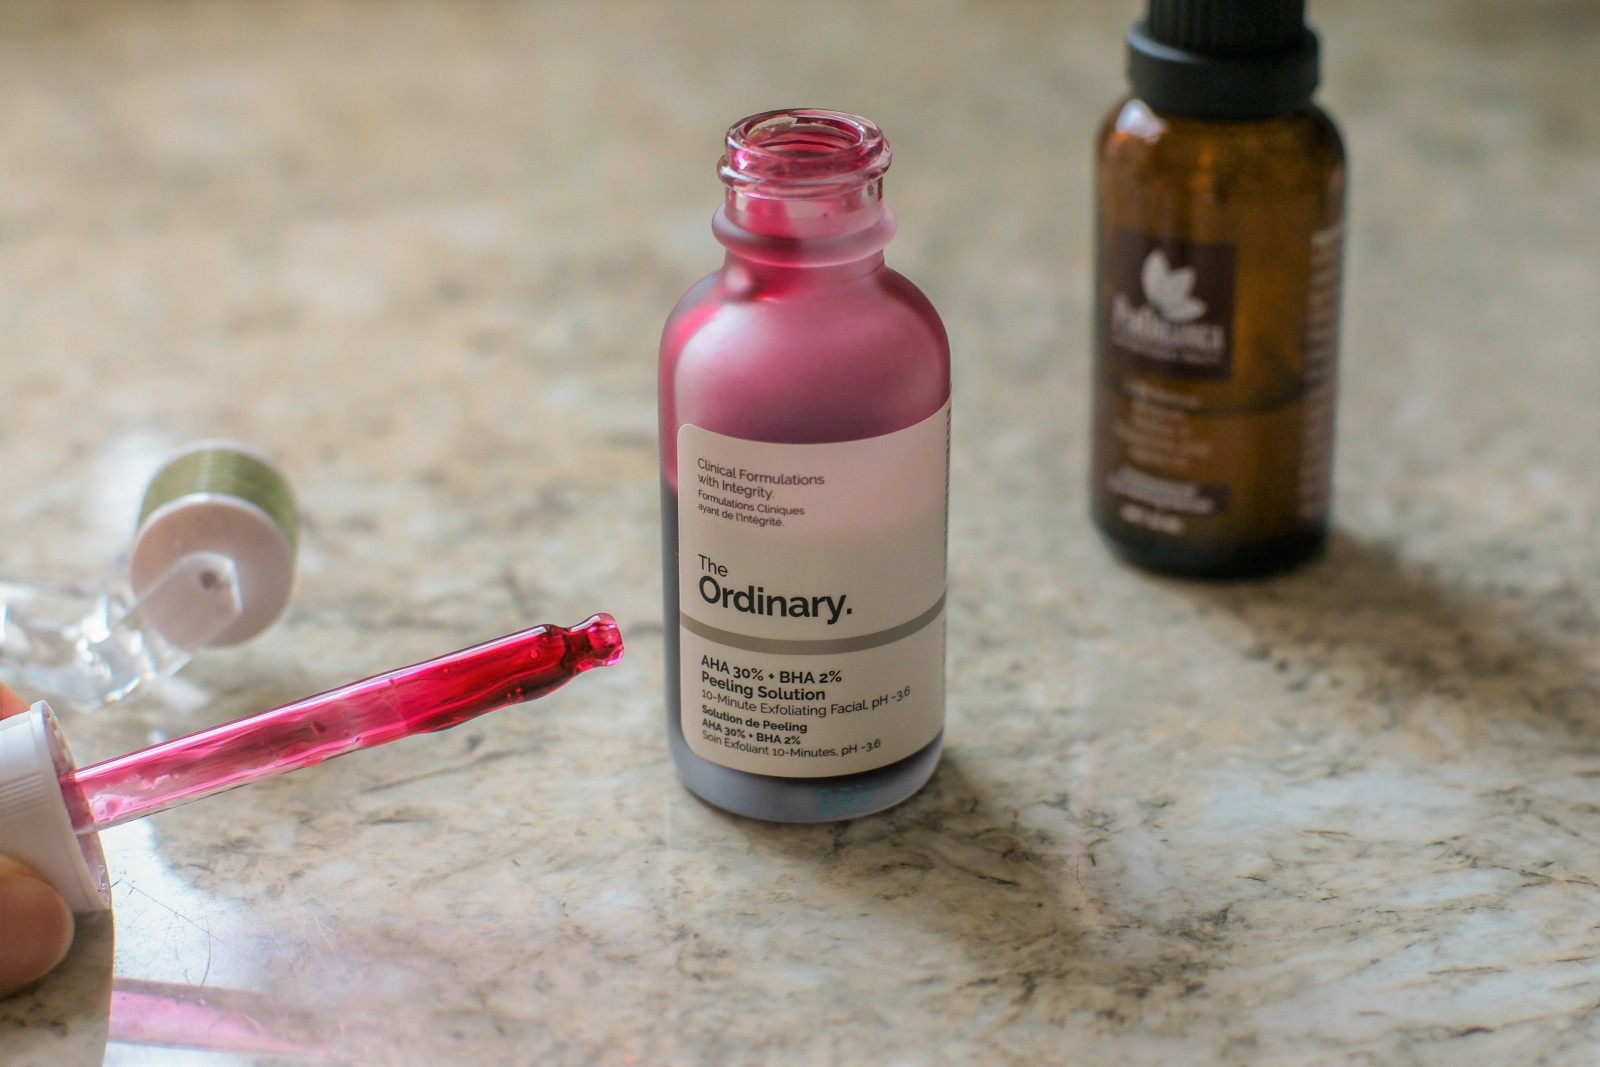
For even better results and smoother skin, I apply The Ordinary AHA 30% + BHA 2% Peeling Solution. You need to be careful with this exfoliating peel if you have sensitive or damaged skin. Read the instructions before applying the product and avoid the sun after treatment.
Direction in which to use the derma roller:

Derma Rolling: Aftercare
Clean your face. Always make sure to wash and clean your face after each use. Wash your face with a gentle cleanser, followed up by your favourite moisturiser. I prefer to use a thick moisturiser such as Vichy Nutrilogie 2 as my skin is very dry and it tends to dry even further after a derma rolling procedure.
Clean the roller. You need to thoroughly wash your derma roller after each use. Wash your roller with mild soap and run it through very hot water to make sure you eliminate any germs and dead skin that are left after the micro-needling. Shake off any excess water and let your derma roller air dry.
Disinfect the derma roller. It is recommended to disinfect your derma roller after each use. Just use the alcohol you’ve used for cleaning the derma roller before the procedure. Personally, I prefer to skip this step as I’m not sharing my device with anybody and I haven’t experienced any irritation or breakouts.
Derma rolling has been a huge game-changer for me. Two years on, I use my derma roller once a week and the results have been astonishing! I wish I could have documented some before and after results. Sadly, I was sceptical about the treatment when I first started, thus haven’t captured any headshot for you to see the results. However, I strongly recommend including the micro-needling treatment as part of your daily, weekly or monthly beauty routine. Even if you don’t have wrinkles, derma rolling will improve your overall skin texture and tone, leaving your skin smoother than ever before!
Have you ever tried derma rolling?
What is your experience with the micro-needling procedure?
Psst! Check out the beauty category for more beauty and product reviews and tips!
YOU MIGHT ALSO ENJOY:
10 Best Face Moisturisers For Dry Skin To Try In 2018


